Transform a Layer in Optics
Transform a Layer in Optics
Last Updated:
Tuesday, September 19, 2017
Software/Versions Affected:
- Optics›5
- Optics›6
About Transforming Layers
Using Optics5, you can transform glazing layers by changing their thickness, applying or changing coatings and films or by swapping substrates. These transformations are performed on layers loaded into a glazing system or laminate. All of these operations create one or more new glazing layers which can be saved to the user database. These calculations are prone to errors for certain combinations of input data — Optics5 will give a list of warnings where data is likely to be unreliable after a transformation operation. You will get the best results by following the guidelines under each transformation topic.
Not all transformations are allowed for all glazing types, and some operations require certain optional data to be present in the database. If it is not possible to perform a transformation operation, it will not be available to you, or you will see a message describing the problem.
Transforming Layers in Glazing Systems
To transform a layer in a glazing system:
- Select the layer by clicking on a layer button
- Choose an item from the menu Edit (not all choices may be available)
Note: You cannot transform glazings of unknown type, laminates, coated layers without a valid substrate reference in the database or applied film layers without a valid substrate reference in the database
Transforming Layers in Laminates
To transform a layer in a laminate:
- Select the layer by clicking on a layer button
- Choose an item from the menu Edit (not all choices may be available)
Note: You cannot transform glazings of unknown type, interlayers, coated layers without a valid substrate reference in the database or applied film layers without a valid substrate reference in the database
The Change Glazing Dialog Box
The Change Glazing dialog box is used to enter new information when transforming layers or editing information fields for a layer:
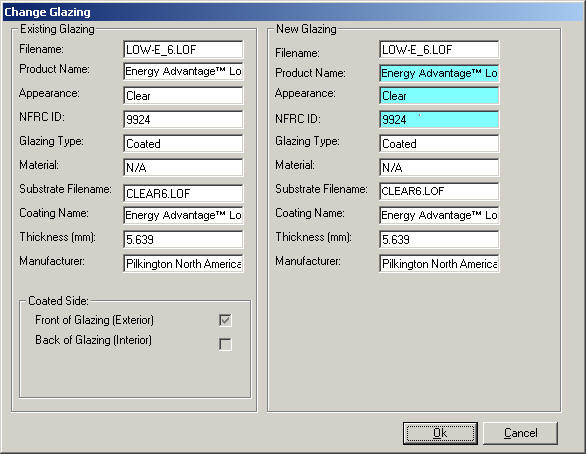
The left side of the dialog box shows the details of the current layer — the right side of the dialog box shows the details of the modified layer. Fields you can edit are shaded blue. Hold the cursor over each blue field for a tool tip describing how you can edit that field (some fields use drop-down lists or pop-up browsers to select from a range of values). When you have finished modifying the fields, click ‘OK’ to create the modified glazing. If you enter an invalid value in a field, you will receive a message telling you what the problem is immediately or when you try to commit the changes.
Change Thickness
You can change the thickness of monolithic layers and coated or applied film layers where the substrate is known and is also present in the database. You cannot change the thickness of interlayers, laminates or glazings of unknown type.
If you change the thickness of a coated or applied film glazing, you are really changing the thickness of the substrate layer, then re-applying the coating or film to the new substrate. This means that if you perform this transformation you will be creating two new layers — so you will be asked to enter filenames for a new substrate and a new coated or applied film layer.
To change the thickness of a layer:
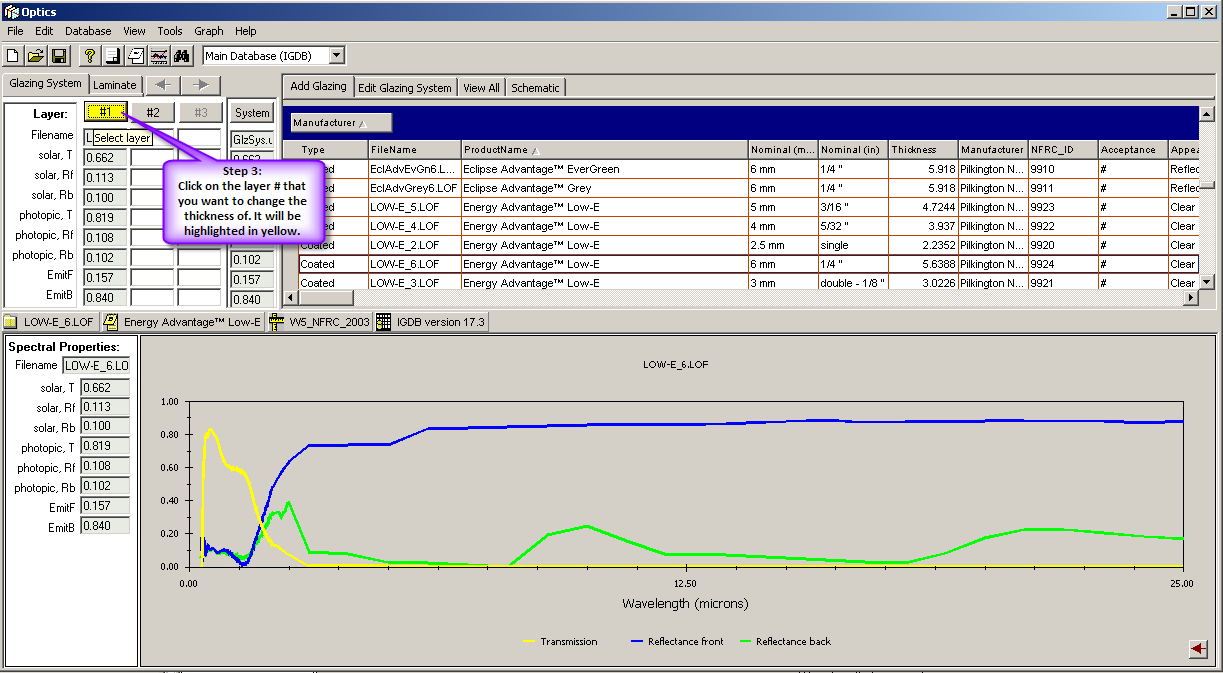
- Select the layer by clicking on a layer button;
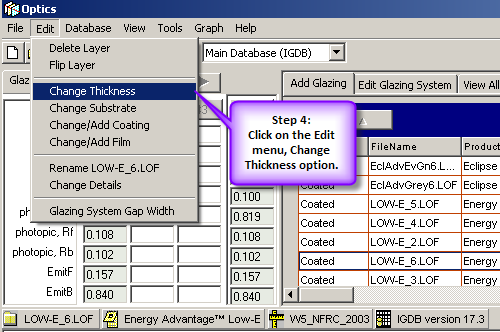
- Choose the menu option Edit|Change Thickness
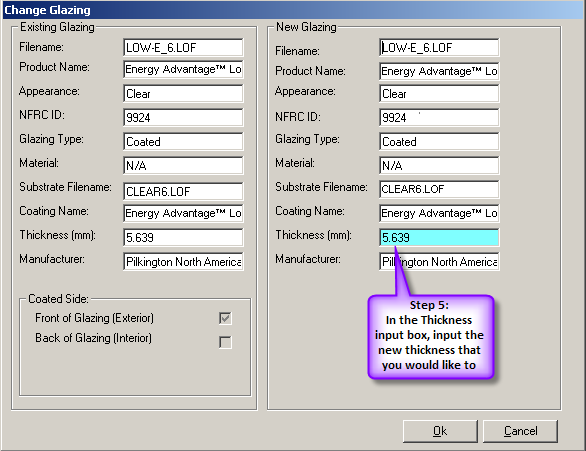
- In the Change Glazing dialog box, the thickness box appears highlighted — click on it to enter a new thickness (in mm). It is strongly recommended that you always increase the thickness (see “Getting the Best Results when Changing Thickness”).
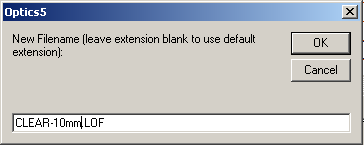
- You will be prompted to enter a new name for the glazing (and the new substrate if applicable)

- If you want to keep the new layer, save it to the user database (see “Saving Layers to the User Database”).
Getting the Best Results when Changing Thickness
The change thickness operation adjusts the internal absorptance of the layer for the new value of the thickness and re-calculates the spectral optical properties of the whole layer.
If the transmittance of the original layer at a given wavelength is very low, it is likely that the internal absorptance of the layer is very large. If the transmittance falls below the limit of resolution of the measurement, the internal absorptance is known to be large, but cannot be calculated exactly. This means that its value cannot be adjusted to the new thickness accurately. If the change thickness operation is used to increase the thickness, the layer will become less transmitting, and inaccurate absorptance values in regions where the transmittance is essentially zero will have no influence on the results. If the change thickness operation is used to decrease the thickness, the layer will become more transmitting, and inaccurate absorptance values will result in inaccurate predicted optical properties at wavelengths where the original layer had a low transmittance.
For coated or applied film glazings, there is an additional operation involved before the thickness can be changed — the coating or applied film must be ‘stripped’ from the substrate. If the substrate does not have a high transmittance, there is no information available about the substrate-side coating reflectance, and this value may be unreliable. If the coating is re-combined with a substrate of increased thickness, the unreliable substrate-side reflectance will be ‘hidden’ behind the substrate, and this problem will not affect the final results for the whole layer. If the change thickness operation is used to decrease the thickness, these unreliable reflectance values can result in inaccurate predicted optical properties at wavelengths where the original layer’s substrate had a low transmittance.
For this reason, when using the change thickness operation it is recommended that you always increase the thickness. If you do not, you will see warnings about unreliable data at those wavelengths where the original layer (substrate) had a low transmittance, and you may see obviously incorrect values in the spectral data at those wavelengths.
This information is also in the Optics Help file, accessed through the Optics program via Help/Contents.